
Styling Interiors for Photography
A Guide for Designers
Styling a space for photography is a slightly different skill than styling it for real life. When a three-dimensional room is translated into a two-dimensional image, the way our eyes perceive scale, balance, and visual weight changes. Elements that feel perfectly proportioned in person can look too small, too busy, or visually flat once they’re in a photograph.
Thoughtful styling is often what takes an image from a “pretty design” to truly magazine-worthy. It helps guide the viewer’s eye, adds depth and storytelling, and ensures the design translates beautifully on camera.
Whenever possible, I always recommend working with a professional interior stylist—they bring an incredible level of expertise and objectivity to the shoot. But if that’s not feasible, or if you’d prefer to style the space yourself, here are some of the tips I’ve learned from working alongside stylists over the years.
Prep the Space the Day Before
If possible, it’s a great idea to prepare the home the day before the shoot. Doing a bit of advance work allows us to focus our time on styling and photography rather than basic cleanup.
This might include:
Tidying surfaces
Removing personal items you don’t want visible in photos
Decluttering countertops, shelves, and nightstands
You can even hire a professional cleaner to prep the space. Starting with a clean, organized home saves valuable time on shoot day and helps everything run more smoothly.
Bring Plenty of Options
Professional stylists almost always arrive with far more props than they expect to use. It’s difficult to predict exactly how something will look once it’s placed in the frame and lit by natural light.
For example, if you know you want to style with a vase, consider bringing:
A few size options
A few color variations
Multiple flower or stem options with different textures and heights
Having a range of pieces to choose from allows us to adjust styling quickly once we see what works best in the composition.
Every stylist does a lot of “buy and return” in order to have plenty of options on set.
Exercise Restraint
This might sound contradictory to the previous point, but understyling is almost always better than overstyling.
You don’t want the accessories to overpower the design or make the image feel overly staged. Clean, intentional styling allows the architecture, materials, and furniture to remain the focus.
When in doubt, try removing one item and seeing how the frame feels. Often, less really is more.
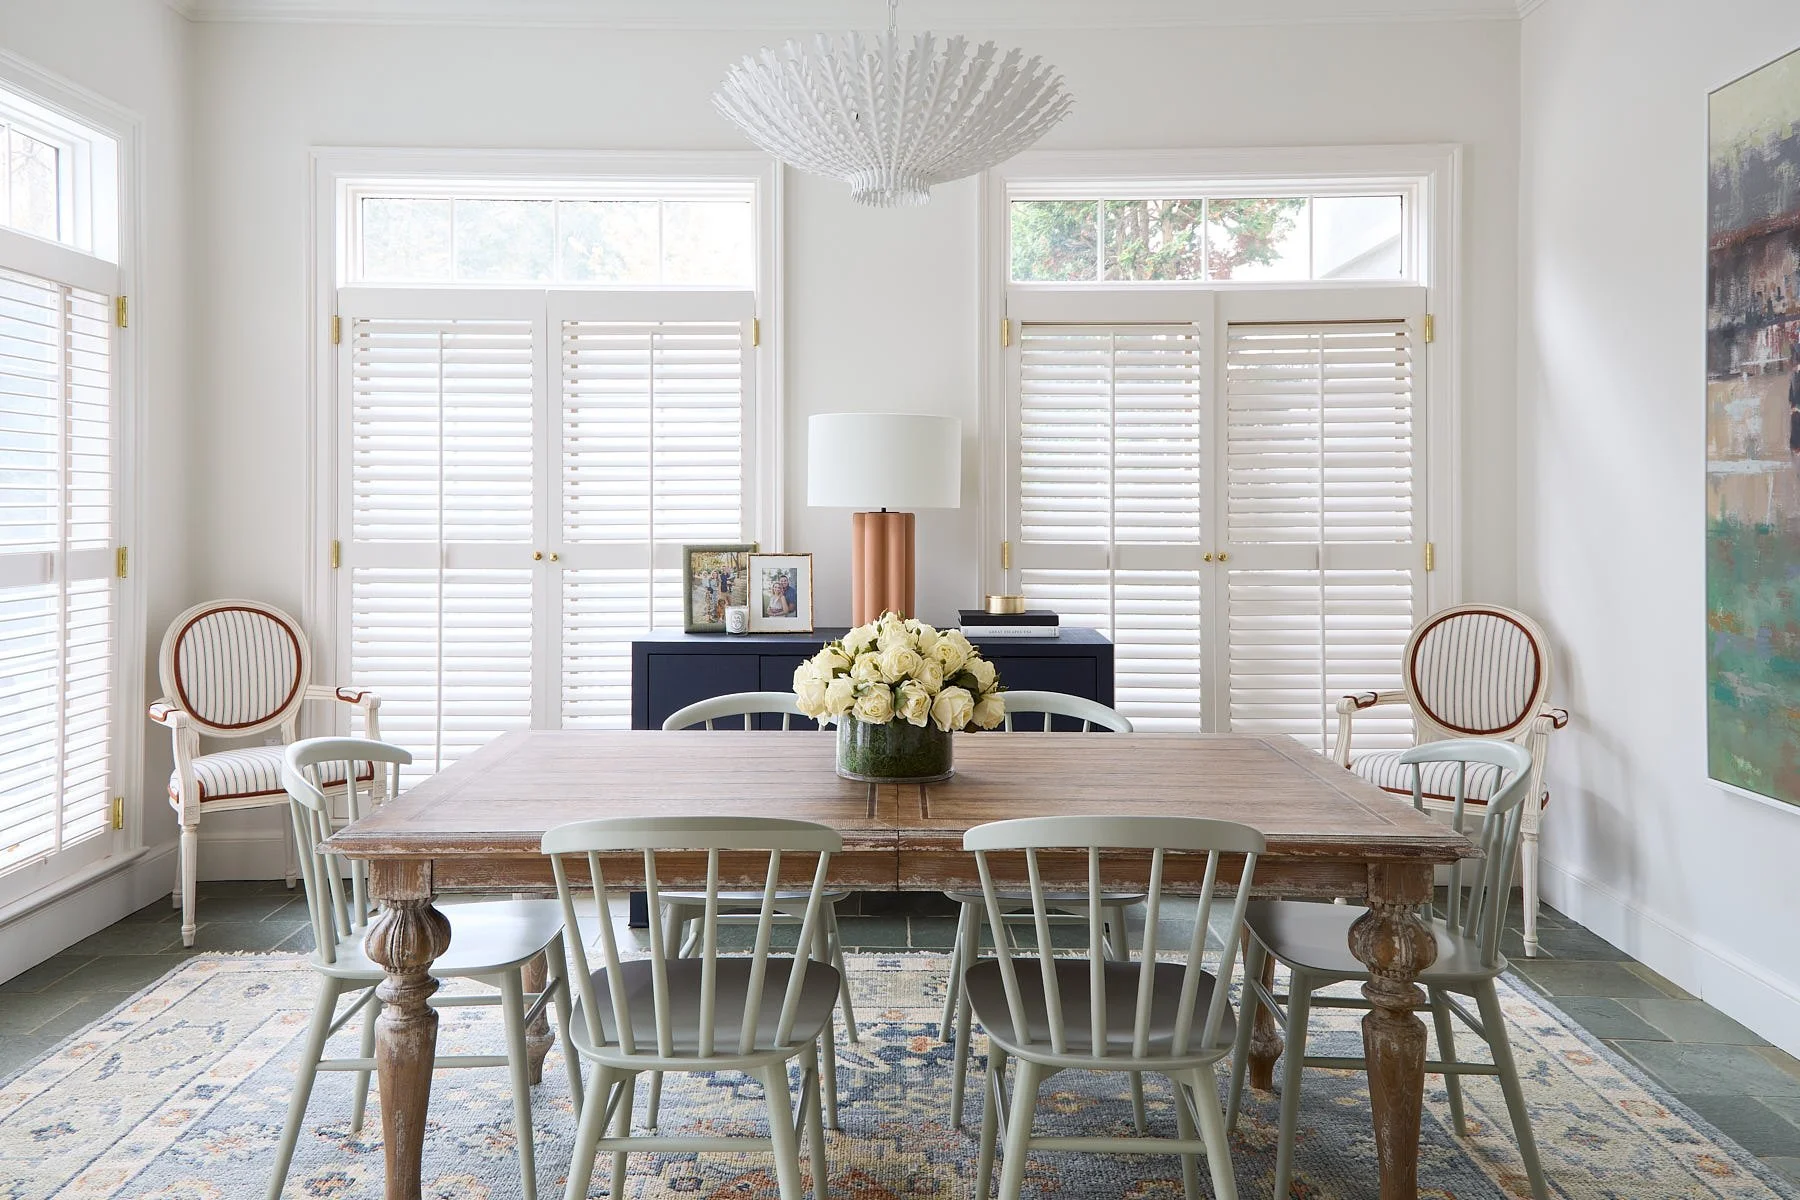
Go Big or Go Home
Objects almost always appear smaller on camera than they do in person.
If you’re debating between two sizes, err on the larger side. A vase that feels oversized in the room may photograph perfectly, while a smaller one can disappear entirely once it’s in frame.
Stylists often bring pieces that feel dramatically scaled because they know the camera tends to shrink visual impact.
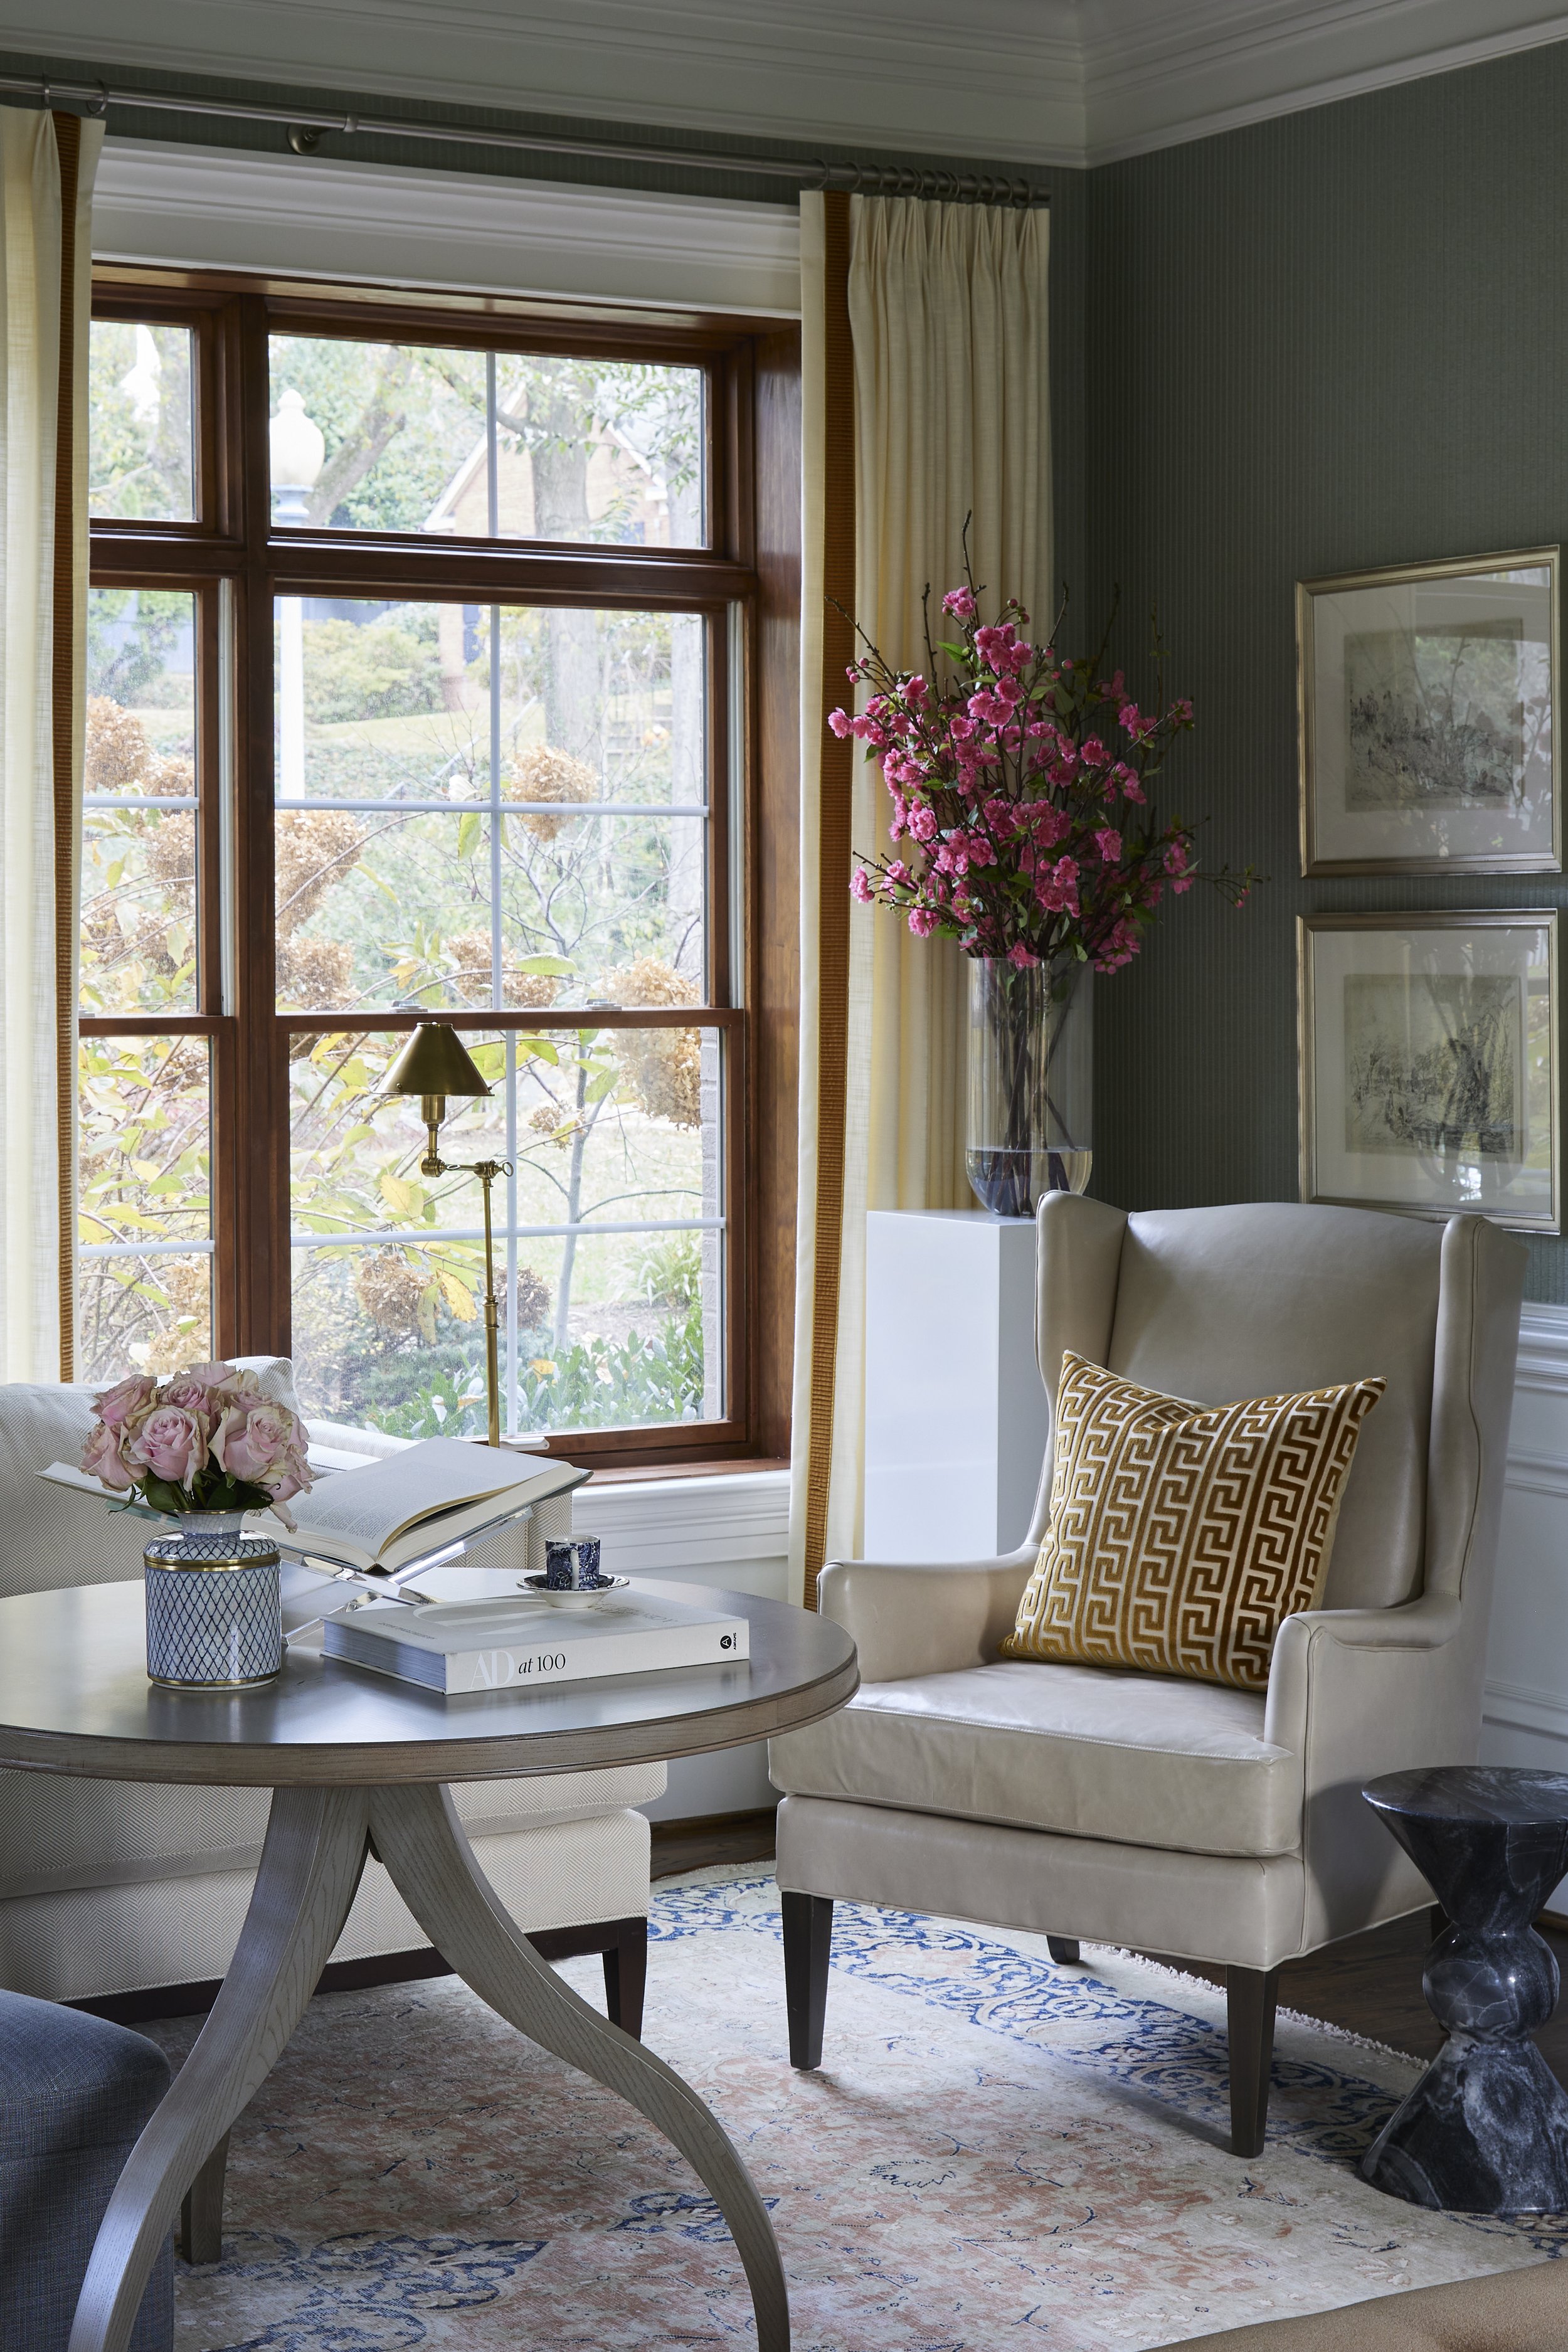
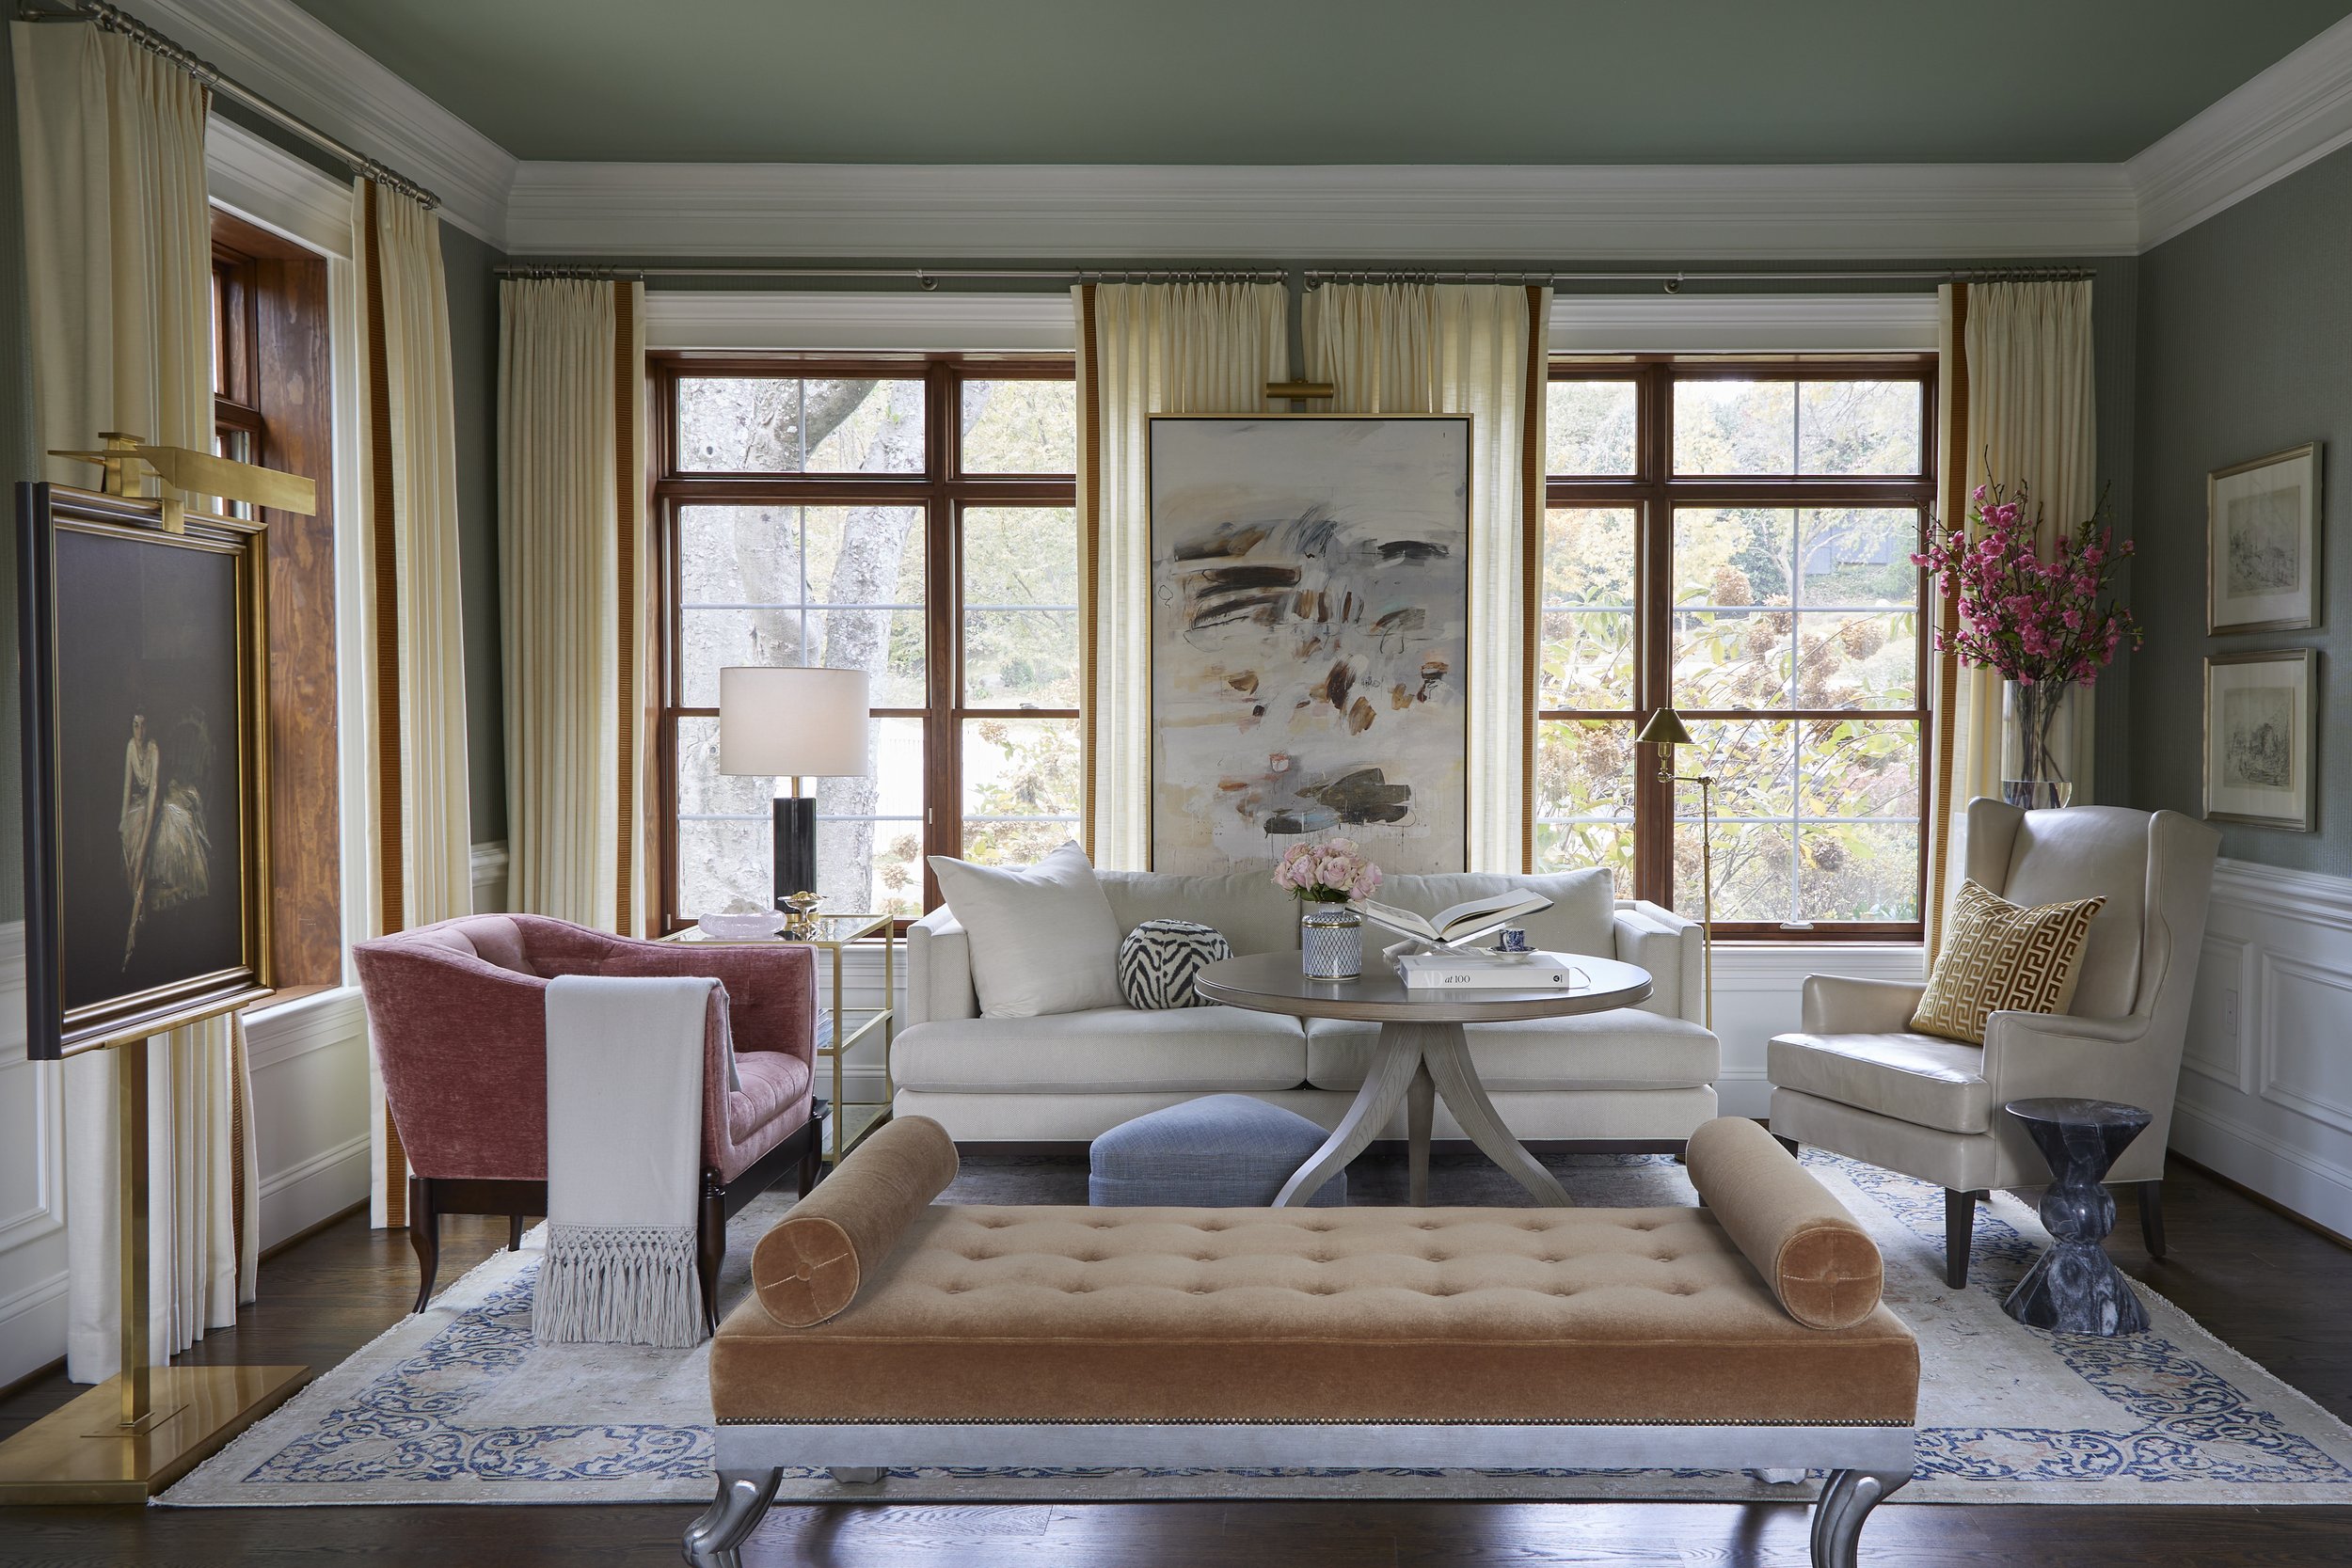
Choose Authentic Materials
Just like in your design work, styling with objects that feel authentic and tactile adds richness to a photograph.
Pieces with patina—vintage ceramics, aged metals, stone objects, or worn books—add character and visual depth. They help a space feel layered and lived-in, which publishers and editors tend to gravitate toward.
If the homeowner has personal items that contribute to the story of the home, these can be wonderful to include. They often feel more unique and less “copy and paste” than something newly purchased from a store.
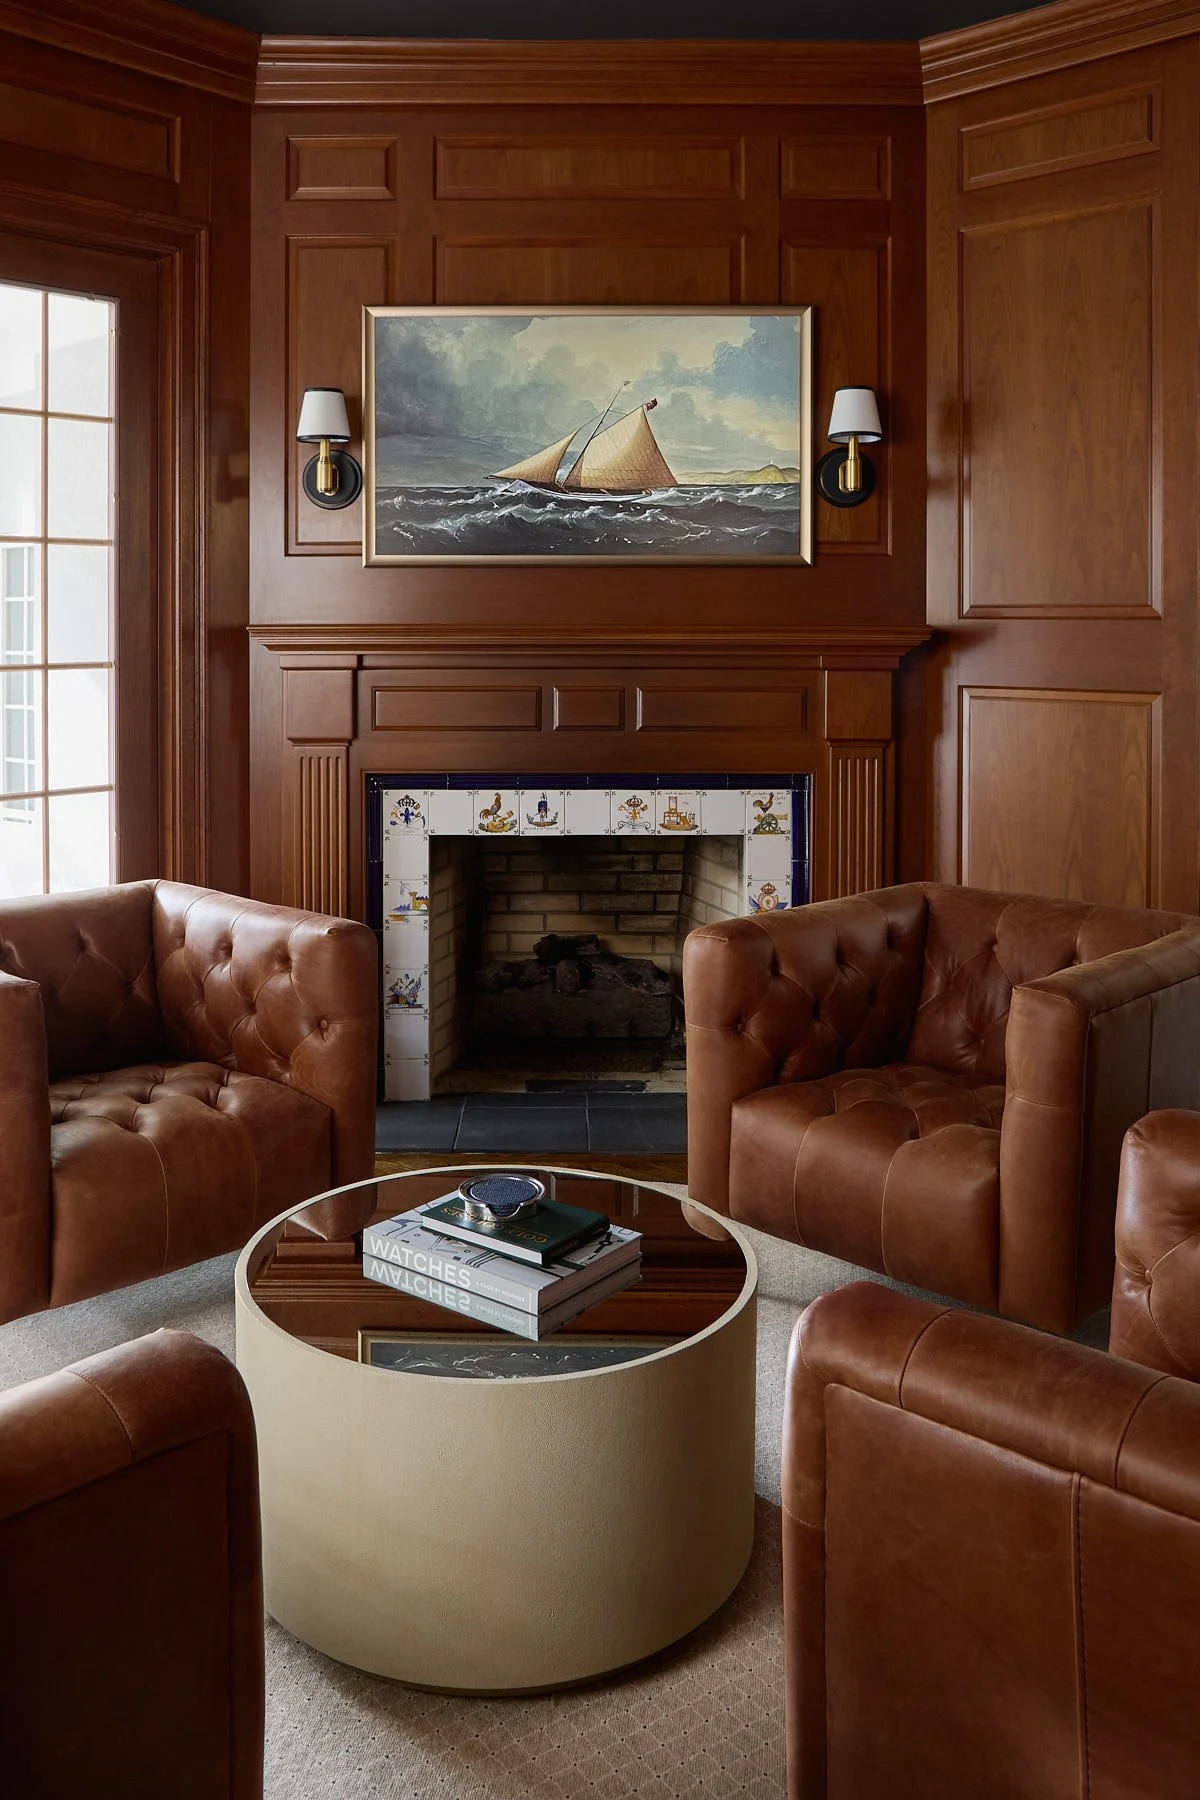
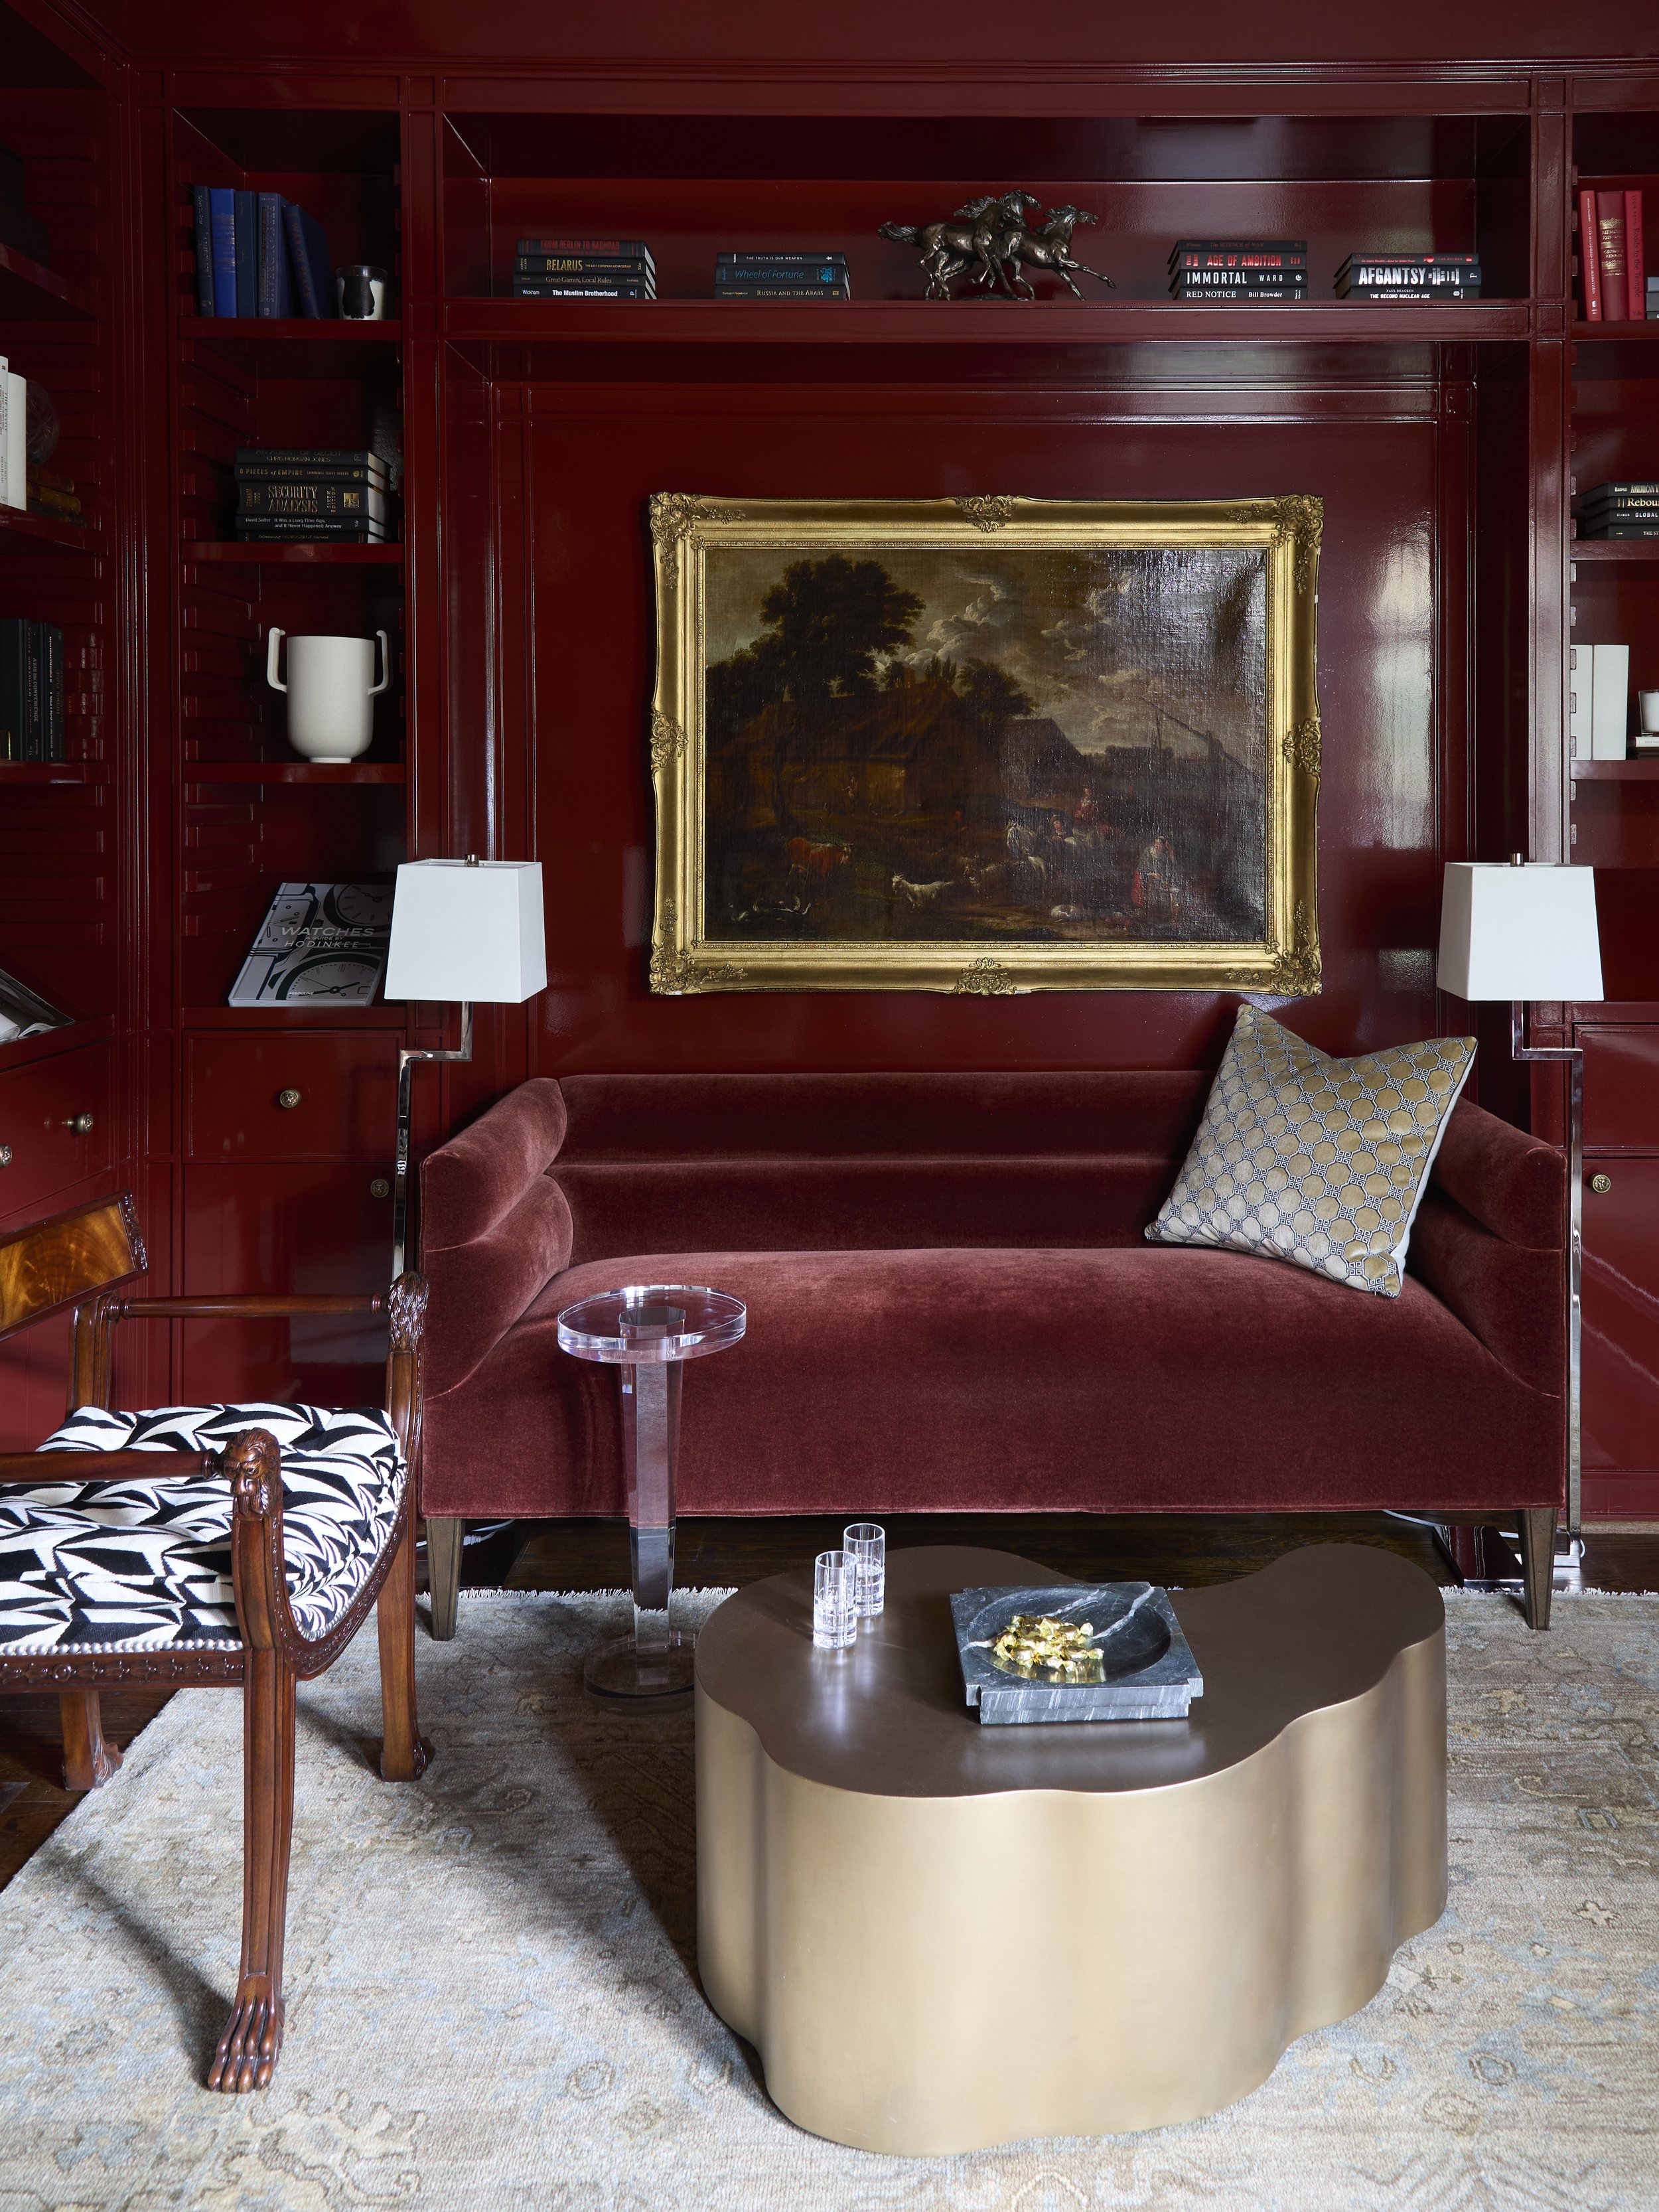
Bring Art Options
Sometimes artwork hasn’t been installed yet, but the photos really benefit from having something on the wall.
In that case, bring a few art options you have available. We can hold them up in place during the shoot so I can composite them in later during retouching.
If you don’t have artwork available, even bringing a frame close to the desired size can work—we can then source artwork and add it digitally afterward. (Just note that additional retouching will typically incur an extra cost.)
Don’t Forget a Steamer
If we’re photographing a bedroom, nothing undermines a polished image faster than wrinkled bedding.
Bring a steamer so sheets, pillowcases, and duvet covers look crisp and camera-ready. You may also want to bring:
Extra fluffy pillows
A fuller comforter or duvet insert
These details help the bed feel plush, luxurious, and editorial.
Making the bed properly can take longer than expected, so be sure to factor that time into your schedule. If the bed won’t be slept in, this is another task that can be done the day before the shoot.

I can’t wait to showcase your design the way it deserves to be seen
I hope this helps give you some ideas on how to prepare to style your space. Thoughtful styling is one of the most powerful ways to elevate interior photography. With a bit of preparation, flexibility, and restraint, you can help ensure your designs translate beautifully on camera—and create images that truly showcase your work.
As always, let me know if you have any other questions - while I’m definitely not a stylist, I’m happy to talk through the style you’re envisioning and help in any way I can!